Hummingbird Cupcakes

Thursday, June 30, 2011 4 comments
 I made these for Easter, and they were de-licious.  I thought they'd also be a cute cupcake to share for Mother's Day....and then a few months later, I finally got around to posting!  Regardless, these are probably one of the tasties cupcakes I've ever accidentally made.  Accidentally because I ended up totally altering the fruite combos inside these cakes, but it was so good, I'd be afraid to try it any other way. 
Hummingbird Cupcake Ingredients
Mix 3 c. flour, 2 c. sugar, 1 t. baking soda, 1 t. salt, 1 1/2 c. veg oil, 3 eggs, 20 oz can of crushed (drained) pineapples, 2 mashed (very ripe) bananas, 1 c. chopped walnuts. 
*you can add just 8 oz of pineapple, and 2 c. of bananas as the original recipe from all recipes called for, but the extra pineapple made this really moist, and it also yielded 36 full cupcakes instead of 24. 
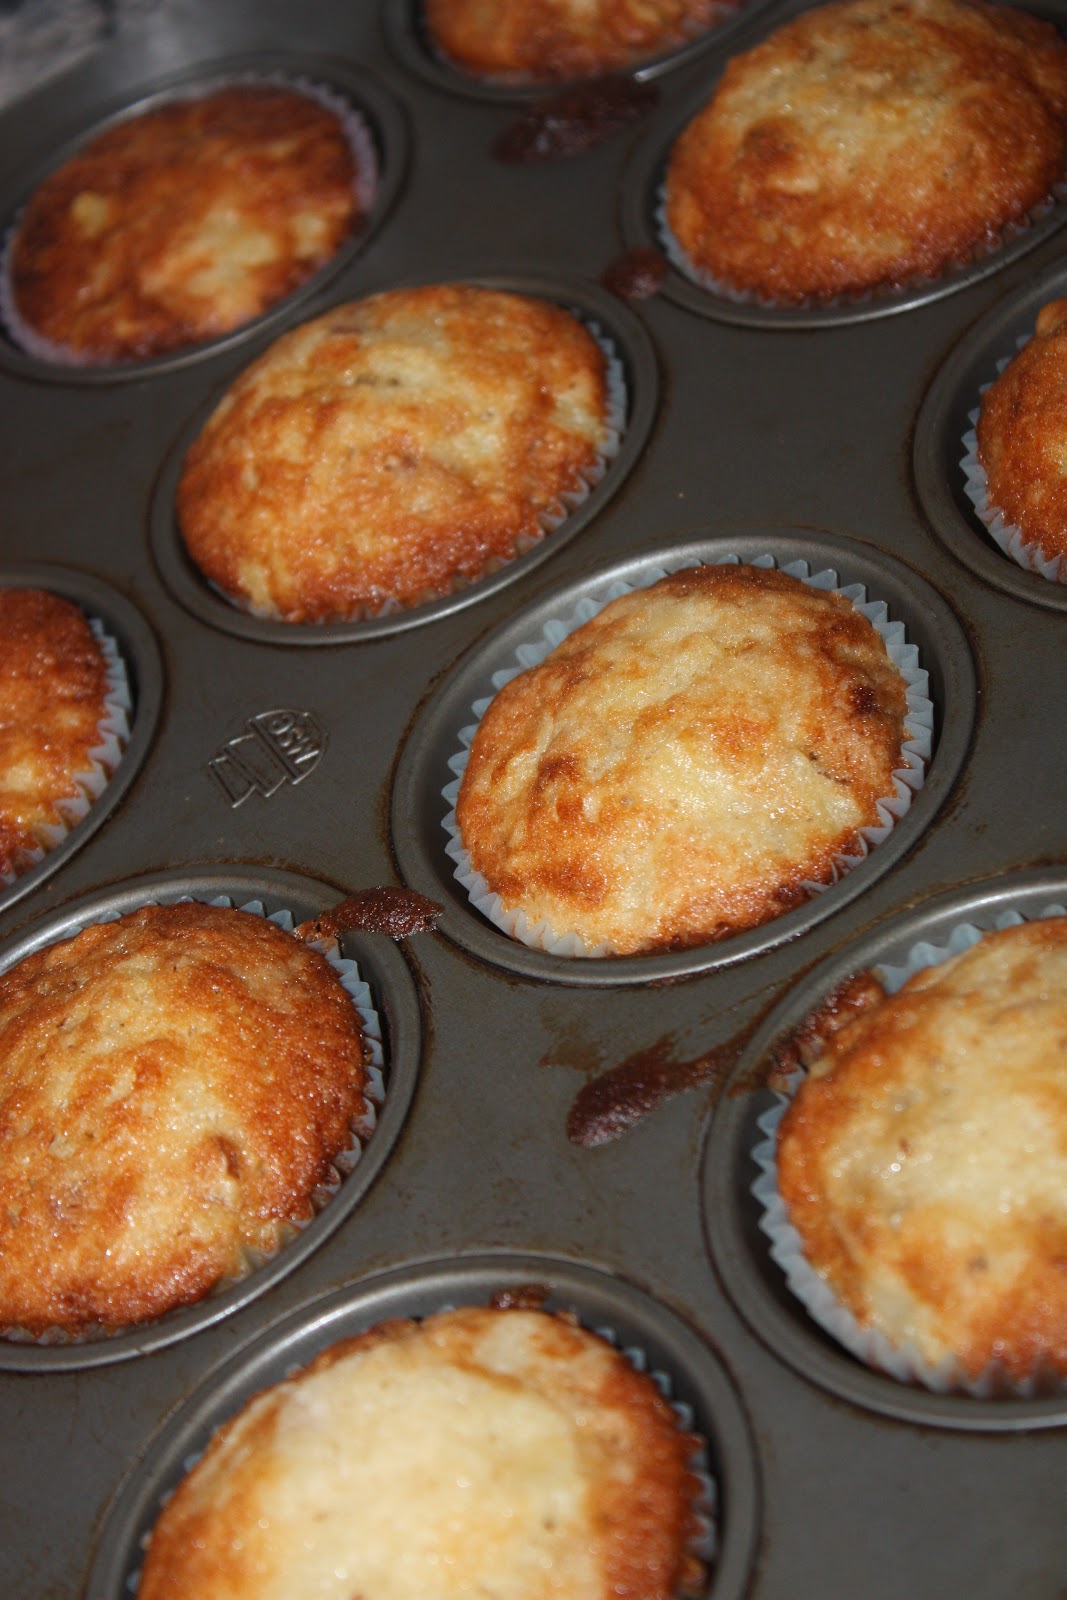
Bake at 350 for 18 minutes.  (If you choose to make a cake, it takes two round pans, and the baking time is closer to an hour). 
Cream Cheese Frosting
Beat 4 oz butter, 4 oz of cream cheese, 2 c. powder sugar, 1 t. vanilla. 
I iced the cupcakes, piling up more on the edges, and leaving a smoother center.  Reserve about 1/2 c.

Next I toasted up some flaked coconut.  I spread out a thin layer on a pan. 
I put it in the 350 oven for about 5 minutes, but I did stir it around about half way through, the edges browned quickest. 


I dipped the cupcakes.  :Pause:  Have you ever smelled baking coconut flakes?  If so, can you bottle this scent up and send it to me....or send me a few thousands pounds of flakes so I can smell it forever?:
As for the birds, I saw this idea on Martha Stewart, the Granddiva of many a cute idea.   Dye your remaining cream cheese icing blue and orange.  I just snipped a quarter inch of the corner of a ziplock and piped on my birds.  I repeated with a much smaller snip for the beaks, and then I melted chocolate and dabbed on eyes with a toothpick. 
 I took a strange picture of a cluster of birds with an orange glow. 
I pulled out my favorite elastic shorts...and got down to hummingbird eating business.  Think suped up banana bread. 

Linking To:  Crafty Soiree Paisley Passions Tatortots and Jello Funky Junk Sweets for Saturday

Burlap Pillow...or...If Everyone is Jumping Off a Cliff...

Wednesday, June 29, 2011 3 comments
I know, I know....I'm late to the party.  Not only has 'keep calm and carry on' morphed into every other keep calm and eat a cupcake, be merry, or use a lint roller...whatever, BUT I needed to get this out of my system because...  #1  I love burlap.  #2 my bff, Regan saw this little saying for the first time when she was visiting me last fall, and she loved it because she said 'carry on' was sort of the motto in boot camp approximately.  So, I made her a little pillow just because that's the kind of gal I am, oh, and I was going to visit her for her graduation, and I couldn't wait to give her graduation gift (8 months ahead of time), but I didn't want to go empty handed.... 
I got a 'filler' for the midde, and then cut a piece of burlap about 1 inch wider on all sides.  I printed out my message with the cricut onto freezer paper, including the crown that is the top of 'everyone's 'keep calm' subway signs, pillows, tattoos.  I ironed down the shiney side of the freezer paper (best invention ever). 
I've foun (through doing it wrong many times) dabbing a foam brush filled with paint (I also add some textile paint that can be ironed when dried, and then 'permanantly set) over the outlines. 
I peeled away the freezer paper (it sticks down firmly while paiting, but peels right off when you are ready).  I sewed, stuffed, and tried it out on one of my chairs. 
I considered forgetting to bring this to her, but I decided to anyway, it just gives me an excuse to make more for myself. 

#3 Pimento Cheese with Dill Pickles

Tuesday, June 28, 2011 2 comments

Ummm....I was kinda wondering if there could possibly be any blog in the world that has posted about pimento cheese three times? I don't know what my obsession is with making this? I mean, I like it, but certainly not enough to feature it almost every month. I will not be making any more pimento cheese...until at least October.
OK...I love...LoVe...LOVE dill pickles.   I had to share this great recipe. Taylor (at work) told me about her recipe for pickled pimento cheese, and I tried it out, and it is so wonderfully DILLicious :insert comedic drum bangs here: and then :insert rotten tomato toss here:. If you like dill pickles...I recommend this pimento.
Ingredients:
•4 ounces, weight Pimentos
•10 pieces Kosher Baby Dill Pickles
•10 ounces, weight Cracker Barrell Extra Sharp Cheddar Cheese
•10 ounces, weight Sharp Cheddar Cheese
•½ whole Lemon (just The Juice)
•8 dashes Pepper
•4 dashes Garlic Powder
•½ cups To 3/4 Cup Real Mayonnaise
Preparation Instructions
Cut pickles, and pimentos into small pieces. Grate cheeses. Juice lemon (use 1/2 of the whole lemon depending on your preference). Mix all of this together and add dashes of pepper, and garlic powder to taste. Add 1/2 -3/4 cup mayo (depending on your love of may0). Mix all the ingredients together.
Cover with Syran wrap and chill for a few hours. Serve on bread or with assorted crackers.

Felt Flower Part Two....

Monday, June 27, 2011 No comments
So, with this, I think I've officially completed every project on every blog I've ever visited.  Almost.  I've seen these felt flowers everywhere....and I love them every time I've seen them.  Of course, when I went to make my own, I could only find a youtube video to take me through the process, but it's pretty easy. 
Cut a bunch of circles (I used a little less than one sheet of felt, which made a 3x3 inch flower). 
Keep one circle for the base, and then fold the other pieces in half, and then in half again. 
Then I started gluing them down onto the cirlce, after the first layer of four half traingles that fit down perfectly, I stacked more on top until I had a full flower. 
I added a pin to the back. 
I decided to give this felt flower a home, so I grabbed a book bag I bought at Hobby Lobby, sewed a 'colar' onto the bag using scrap fabric.
I added the pin, and then gave it away.  This was a matter of doing it for the sake of doing it. 

Banana Pops

Sunday, June 26, 2011 6 comments
No rocket science involved in this recipe, or effort, or skill, or multiple ingredients. It's summer, and it shows....everywhere, including my blog today. Tomorrow I'll get back to glue sticks, and solving the problem of world peace (or lack there of), and political unity, but today...today I laze.
I love banana fudgecicles. I never eat them, even though they sell them where I work. I've never bought one at work. I don't know why. I just don't get them at work, but I know I can, which makes it OK. Except now I can't. AND because I won't be able to purchase the pops I never purchase anyway for at least two and a half months, all the sudden, that's a problem. I've looked for these at the store, though they are made by a pretty well-known ice cream company, and I just can't find them! I decided recently to search for a recipe online. I liked the way they turned out. They aren't as 'soft' as the fudge cycles are, but the flavor was good. Because I have restraint :insert laughter: I decided not to buy one of those 'popsicle' freezer thingies. I had two boxes of dixie cups in my pantry I recently discovered. I can't explain why I have these. I don't think I've used a dixie cup since I was five, but they came in handy for these.

I mixed it up, and they filled up four of these dixie cups. It was great b/c I could just peal the paper off the sides.

The Recipe:
1 banana, mashed (I might add a second one next time)
3 T banana pudding mix (you'll have left over so you can double the recipe easily)
1 C. Milk
Mix, pour until containers, and freeze.

eat Plate

Saturday, June 25, 2011 1 comment
I've seen a couple plates with this life altering saying written across them throughout the net, including a super cute buy on Lori's blog.  I didn't know where I could buy my own, and so I used the process of pencil/stencil/ceramic pen that I used when making my face plates (instructions here).  I printed out the word eat,  penciled, then ceramic markered it on the plate, baked on 'eat,' and now I'll never have to be confused about what I'm supposed to do when I find food on this plate.  I'm gathering a collection of red/white/black plates for my kitchen....because I can. 

Mad Hatter's Tea Cookies

Friday, June 24, 2011 5 comments
This post is brought to you by:  it's time to clear some pictures off my iphone. 
Last spring, one of the (many) get togethers at work included this little Mad Hatter's Tea theme.  We were look at the end goal, and how to get there, so...a little backwards, thus the Mad Hatter's tea theme (that was our excuse at least).  We sent out 'invite's' on playing cards, and then my teaching partner brought a really pretty table cloth, mugs, and the tiered platter.  I printed off some drink me tags to add to spoons for mixing up the teas provided. 
And then I piped "Eat Me" on some sugar cookies, much like Alice's original tea experience, minus some of the characters. 

The Second Best Macoroni Salad

Thursday, June 23, 2011 3 comments
....just being honest. I wish I knew how to make the best macaroni salad, but I don't. I used to eat it at Steak and Ale, but then S and A went bankrupt, and they took their recipe with them....this one is close....reallllll close, and I'm a girl that knows her way around a plate of macaroni salad.

I got this recipe a few years back at a pot luck. Please notice, I'm not afraid to ask for someone's recipe. I've only been denied information one time, and I eventually wore them down. I just don't believe in 'secret' recipes. As soon as I push my soap box aside, I'll share my friend's not-so-secret recipe for the 2nd best macaroni salad.
Ingredeints:
2 c. (dry) of macaroni noodles,
4 stalks celery, diced
2 small tomatoes, diced
1 purple onion, diced
1/2 c. bacon crumbled bacon (I just throw in 3/4 a container of 'real' bacon bits from a jar)
1 T. vinegar
1 1/4 c. mayonaise (she actually calls for 1/4 c. mayo, 1 c. mayonaise, but you'd have to be REAL good to be able to tell the difference in just throwing in one or the other).
Salt and Pepper, to taste.
Directions:
Cook, and drain noodles. Mix in the rest of the ingredients, season, and chill.

Crockpot BBQ Ribs

Wednesday, June 22, 2011 3 comments

The thing about summer is...it's hot in Texas.  The last thing I want is to flip on the oven more than absolutely necessary.  Necessary in my world involves melting wax to make crayons or baking cupcakes.  The end.  I started trying a series of crockpot recipes....it's an unexplored territory (for the most part) in my world, and you know what....I'm still not totally sold.  BUT, of the 10 recipes, this is one of about 2 (truly) I tried and actually liked.....these really turned out VERY tender. 
I put the following recipe that I found here together the night before, and then threw them on low while I was at work (8+ hours). 
CROCKPOT BBQ RIB RECIPE
I halved this recipe so it would fit in my (smaller) crockpot)
Ingredients: 
-5lbs of ribs  (I used pork, only because they were smaller)
-One bottle of bbq sauce (pick your favorite, this is going to ultimate be the main flavor you taste on your meat)
-Yellow onion,m diced
-8 cloves of garlic, (smush and chop)
-2 green onions (chopped)
-Dash of black pepper
Instructions:
1.  Place your ribs on a pan in a 400 degree oven for 15 minutes. 
2.  Place (browning ribs) in the bottom of your crockpot.
3.  Cover ribs with veggies, sauce, and seasoning. 
4.  Cook on low 8-10 hours, or high 4-6 hours.

Hostess Cupcake Balls

Tuesday, June 21, 2011 2 comments
 I saw this recipe for mini hostess cupcake balls at Sugar Derby.  I called 911 and told them I needed someone to resusitate me, and while we are at it, please let him be hansome and single (oops, I think that's been done before)....and then I got to work making these for myself.  Mini?  Cake?  Hostess?  Uhhh....yes, please.  And at the risk of being cliche-how cute would these be for  Hostess gift at a party?  I'm just sayin'....
1.  Bake up a chocolate boxed cake mix as instructed in a rectangular pan.  As soon as it comes out, stir in one can of cream cheese frosting. 
 2.  You'll have this beautiful mess.  Stick it in the freezer for about ten minutes until it's cool enough to handle, then roll it into tablespoon size balls.  Freeze those up. 
 3.  Make the cream filling.  2 t. hot water (not boiling), 1/4 t. salt, 1 jar marshmallow creme, 1/2 c. shortening, 1/2 t. vanilla. 
4.  Disolve salt in water, and set aside to cool.  Whip creme, shortening, sugar, and vanilla until fluffy.  Add water and whip well. 
 5.  Pull out cake balls and push an indenting into the middle. 
 6.  Take an overexposed picture of the ziplock bag you place the filling in.  Snip off the end of the bag, and fill. 
 7.  Cover the filling filled hole with a small piece of cake ball.
 8.  I'd place these back in the freezer for another twenty minutes so they are firm and won't fall apart when you roll these in melted chocolate.  Once dipped, dry on wax paper. 
 9.  Melt white chocolate and make swirls. 
10.  Consume entire batch and repeat. 

A Few More Homemade Aprons

Monday, June 20, 2011 3 comments
I have tons of friends with birthdays in the fall.  It makes for a lot of opportunities for cake, and celebrating.  These are not bad things!    I'm just combining these next two aprons to document (to myself) it's been done.  I'm currently underway with another 'gift of the year' idea.   Last year I tried to give most of my friend's an apron, along with some sort of accompanying gift that matched their personality.  I can't say that it's necessarily what everyone wanted, but it's what I wanted to give, and so....I did. I gave so many, I had these just 'stuck' on my computer to throw up sometime...there is a reason now is that time....back to that in another post in a few days...
My friend Kelly is a bit on the funky side.  I saw this fabric and decided she could handle a funky fabric pattern for her apron. 

This is an apron I made for my friend Amber, it matches the colors in her kitchen, blue and brown. 

July 4th: Strawberry Lemonade Punch

Sunday, June 19, 2011 3 comments
I decided to try out a new lemonade in honor of the upcoming forth.  This one is fizzy...fun, and the right color for the holiday festivities. 
I found this recipe in a Galveston Recipe book I purchased recently. 
To make this lemonade punch...gather  12 oz of canned frozen lemonade, 10 oz container of frozen, sliced strawberries, 28 oz of gingerale. 
Make the lemonade according to the directions, add slightly defrosted strawberries and ginger ale.  Pour over ice. 

July 4th: Watermelon Cupcakes

Saturday, June 18, 2011 5 comments

I'm sure there are some flavor combinations you could throw together to make an interesting Watermelon Cupcake, but....I just went with vanilla.  I tossed some chocolate chips in the batter to give each cupcake a 'seeded' look. 
I iced these with strawberry icing, so they'd be a little 'fruity.'  I decided to run the edge of the cupcake in green sprinkles (opposed to dying vanilla icing green), and then I tossed on a few mini chips for seeds.  I think these are pretty fun.  I don't think I'll win any prizes for these cupcakes, but....I'm not exactly planning on entering any contest in the near future, so....fun meets my standards for this kitchen exploration!